Posted on

Tea Stained Pocket Notebooks

I like to make these pocket sized pamphlet notebooks. They are handy for everyday use. But you can use them as a tuck in a junk journal. Use them for a travel journal, keep track of monthly goals. add them to Midori traveler’s journals. Plus they make great gifts.

In this example, I’m using tea stained paper and hand dying book tape for colorful spines. You can use most paper types (above 24 lb) and let loose with your creativity!

Materials List:

Make the Signatures and Book Spine

  • Tea Stained Paper or other paper folded into signatures. At least 24 lb paper.
  • White Book Tape
  • Alcohol Inks
  • Gelli Pad
  • Paper Towels
  • Small Spray Bottle with Rubbing Alcohol
  • Craft Knife
  • Bone Folder
  • Ruler
  • Rubber gloves to protect your hands.

Assemble the Notebook

  • Ephemera
  • Waxed Thread or Embroidery Thread
  • Book Binding Needle
  • Book Binding Awl
  • Craft Knife
  • Scrap Paper

Step One: Prepare the Signatures

For the paper, you can use tea stained paper or any type of paper that you like. I suggest about 24 lb paper, because it is more robust. I used tea stained letter sized paper, but you can do this with any paper size.

A signature is a bundle of papers that have been folded over. The spine is either sewed together or stapled to make a pamphlet or notebook. I usually make these pocket notebooks so that they fit into a pocket or purse.

Step 2: Dye the Book Tape with Gelli Plate and Alcohol Ink

After I assemble the signature, I measure it to make sure I will be making the book spines the correct size. I then cut the book tape to the appropriate size. The book tape that I use has a backing, so it won’t stick to the table and is easy to dye. If your book take doesn’t have that back, get some plastic dividers or sticker paper from shipping labels to attach the tape too.

Place protective papers to keep the alcohol ink from damaging your table. Place the Gelli plate on the paper.

At this point, you might want to wear some rubber or latex gloves to protect your hands. Then apply some alcohol ink to the Gelli plate. Spray the ink with the rubbing alcohol. This will create a tie die effect and the alcohol ink will spread out.

Then take your pre-cut Book Tapes and apply them face side down against the gelli print. This will transfer the alcohol ink design to the book tape. If you are doing a series of the book tapes, you will need to apply more alcohol ink to the gelli print. These are the colors that I prefer. Alcohol ink comes in a variety of colors and application methods. Play around with the color palette that you like.

I let the book tapes dry overnight. It could probably be used before then, but I like to be cautious.

Can you do with acrylic paint or watercolors? Sure! I found that those paints didn’t dry cleanly, and that normal hand moisture while handling the notebook spine, lead to the color bleeding onto your hands. Not ideal. But I’d like to hear of any solutions people have to that problem. Please comment below!

Step 3: Attach the Book Tape to the Notebook Cover

You should have some premade signatures and dyed book tape now. Let’s get the book tape onto the signature covers.

The next step, after the dyed book tapes have dried, it to attach the book tapes to the cover. Position the book tape on your work surface. I like to use a craft grid, so I can line it up. I then make sure the signature is a good fit. I then remove the cover from the work surface and pull down own corner of the backing material. I then bring back the signature and make sure it’s in a good spot and lined up. If you take the backing off all at once, there are probably going to be air bubbles or misalignment. The Book tape is very sticky and while you can reposition it abit, it’s more likely to tear holes in the paper if you try to reposition it.

Carefully remove the rest of the backing by, slowly removing it by pulling on the corner that is already turned down. As you are removing the backing, gently press down the signature onto the tape. You should end up with a signature that looks like the 1st picture. After that is pressed down, gently unfold the signature from the fold first. Then press it firmly to the book tape. It should look something like the second picture.

Use your ruler and craft knife to slice off the extra book tape.

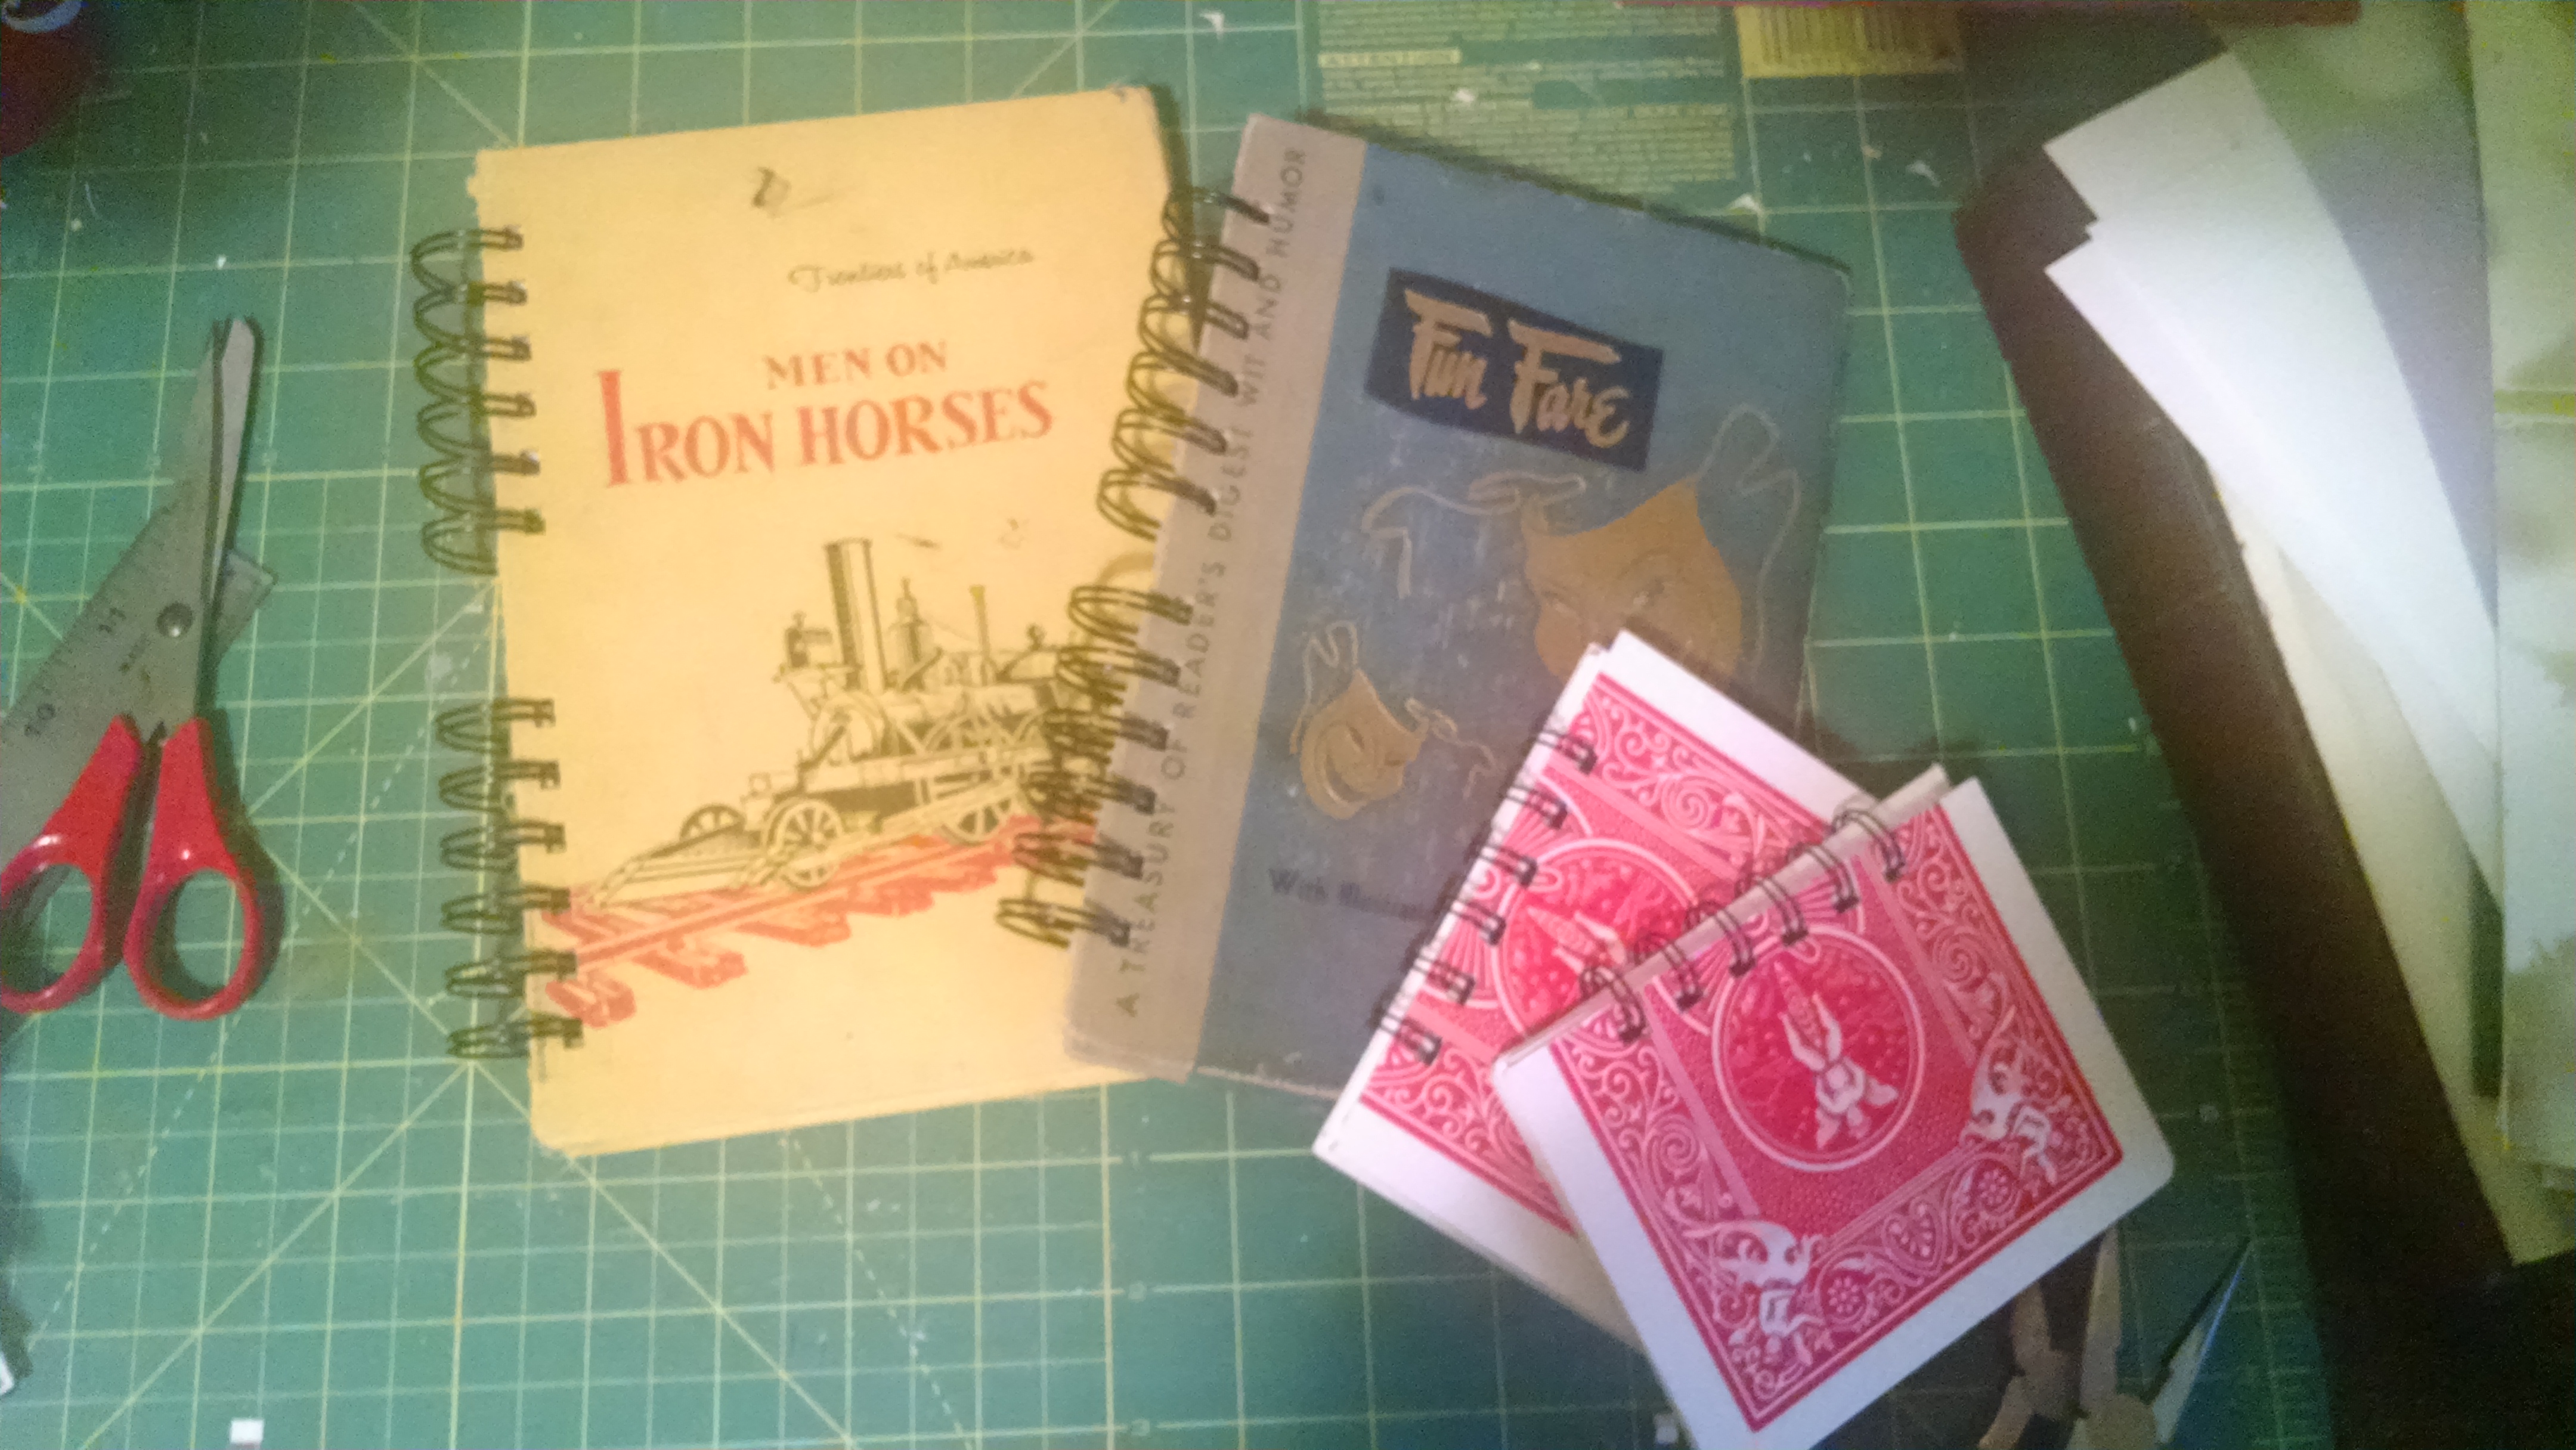
Turning it over, you should have something like the first picture. Fold it half and reinstall the pages. You are now ready to sew it together!

Step 4: Sew the Signature into a Pocket Notebook

Get out your awl! It’s awl time! If you don’t have an awl, you can use a needle that the thread inserted end is put into a cork, a nail, or some other pointy object. It needs to poke a hole large enough for the needle and thread, but not large enough to destablize the paper. One of the reason for the book tape spine, is that it provides a stable material for the sewing to happen. If you look at school composition notebooks, they also have book tape as a spine covering. Of course, it’s done on a commercial book printing machine, so it’s going to look different. But it’s the same general idea.

The basic tools for sewing the pocket notebook with the three hole pamphlet stitch are: Waxed Thread, Ruler, Clip, Assembled Signature, Awl and Bone Folder.

The first thing to do is Clip the signature together. This will keep it from shifting while you are sewing or poking holes through the spine. Any paper clip that you like and/or have is fine. Just make sure it doesn’t leave a mark on the paper.

To poke the holes. Unfold the signature partially. You are going to punch three holes through the signature. I locate the center, punch a hole. Then I punch two more holes that are about an inch from each end.

You can do a template and measure everything a bit more. But I find that if I’m preparing a junk journal ‘tuck’ or junk journal pocket notebook, the lack of precision makes it look better.

If on the other hand, I’m doing a precise map/travel pocket notebook, I will do more precise measurements.

One of the joys of creating your own pocket notebooks is that they don’t have to look like commercially produced notebooks. But they can, if you want !

Then Thread the Needle with the measured wax thread. In the center hole, sew into the bottom hole, Thread into the top hole towards the spine. Then thread back into the center hole where you started.

Tie off the threads

Tie off the threads. Close the pocket notebook and flatten the spine by using the bone folder.

There you have it! A Tea Stained Pocket Notebook with a dyed book spine!

I look forward to hearing about your variations of this tried and true notebook style? Prefer it a bit bigger? More pages? A bit more formal? Perhaps you like to trim the pages after it’s completed?

If you would like to purchase this type of pocket notebook, please go to: Pocket Notebooks – Paper Butterfly Forge

Posted on

Gluing Book Jackets to Book Covers

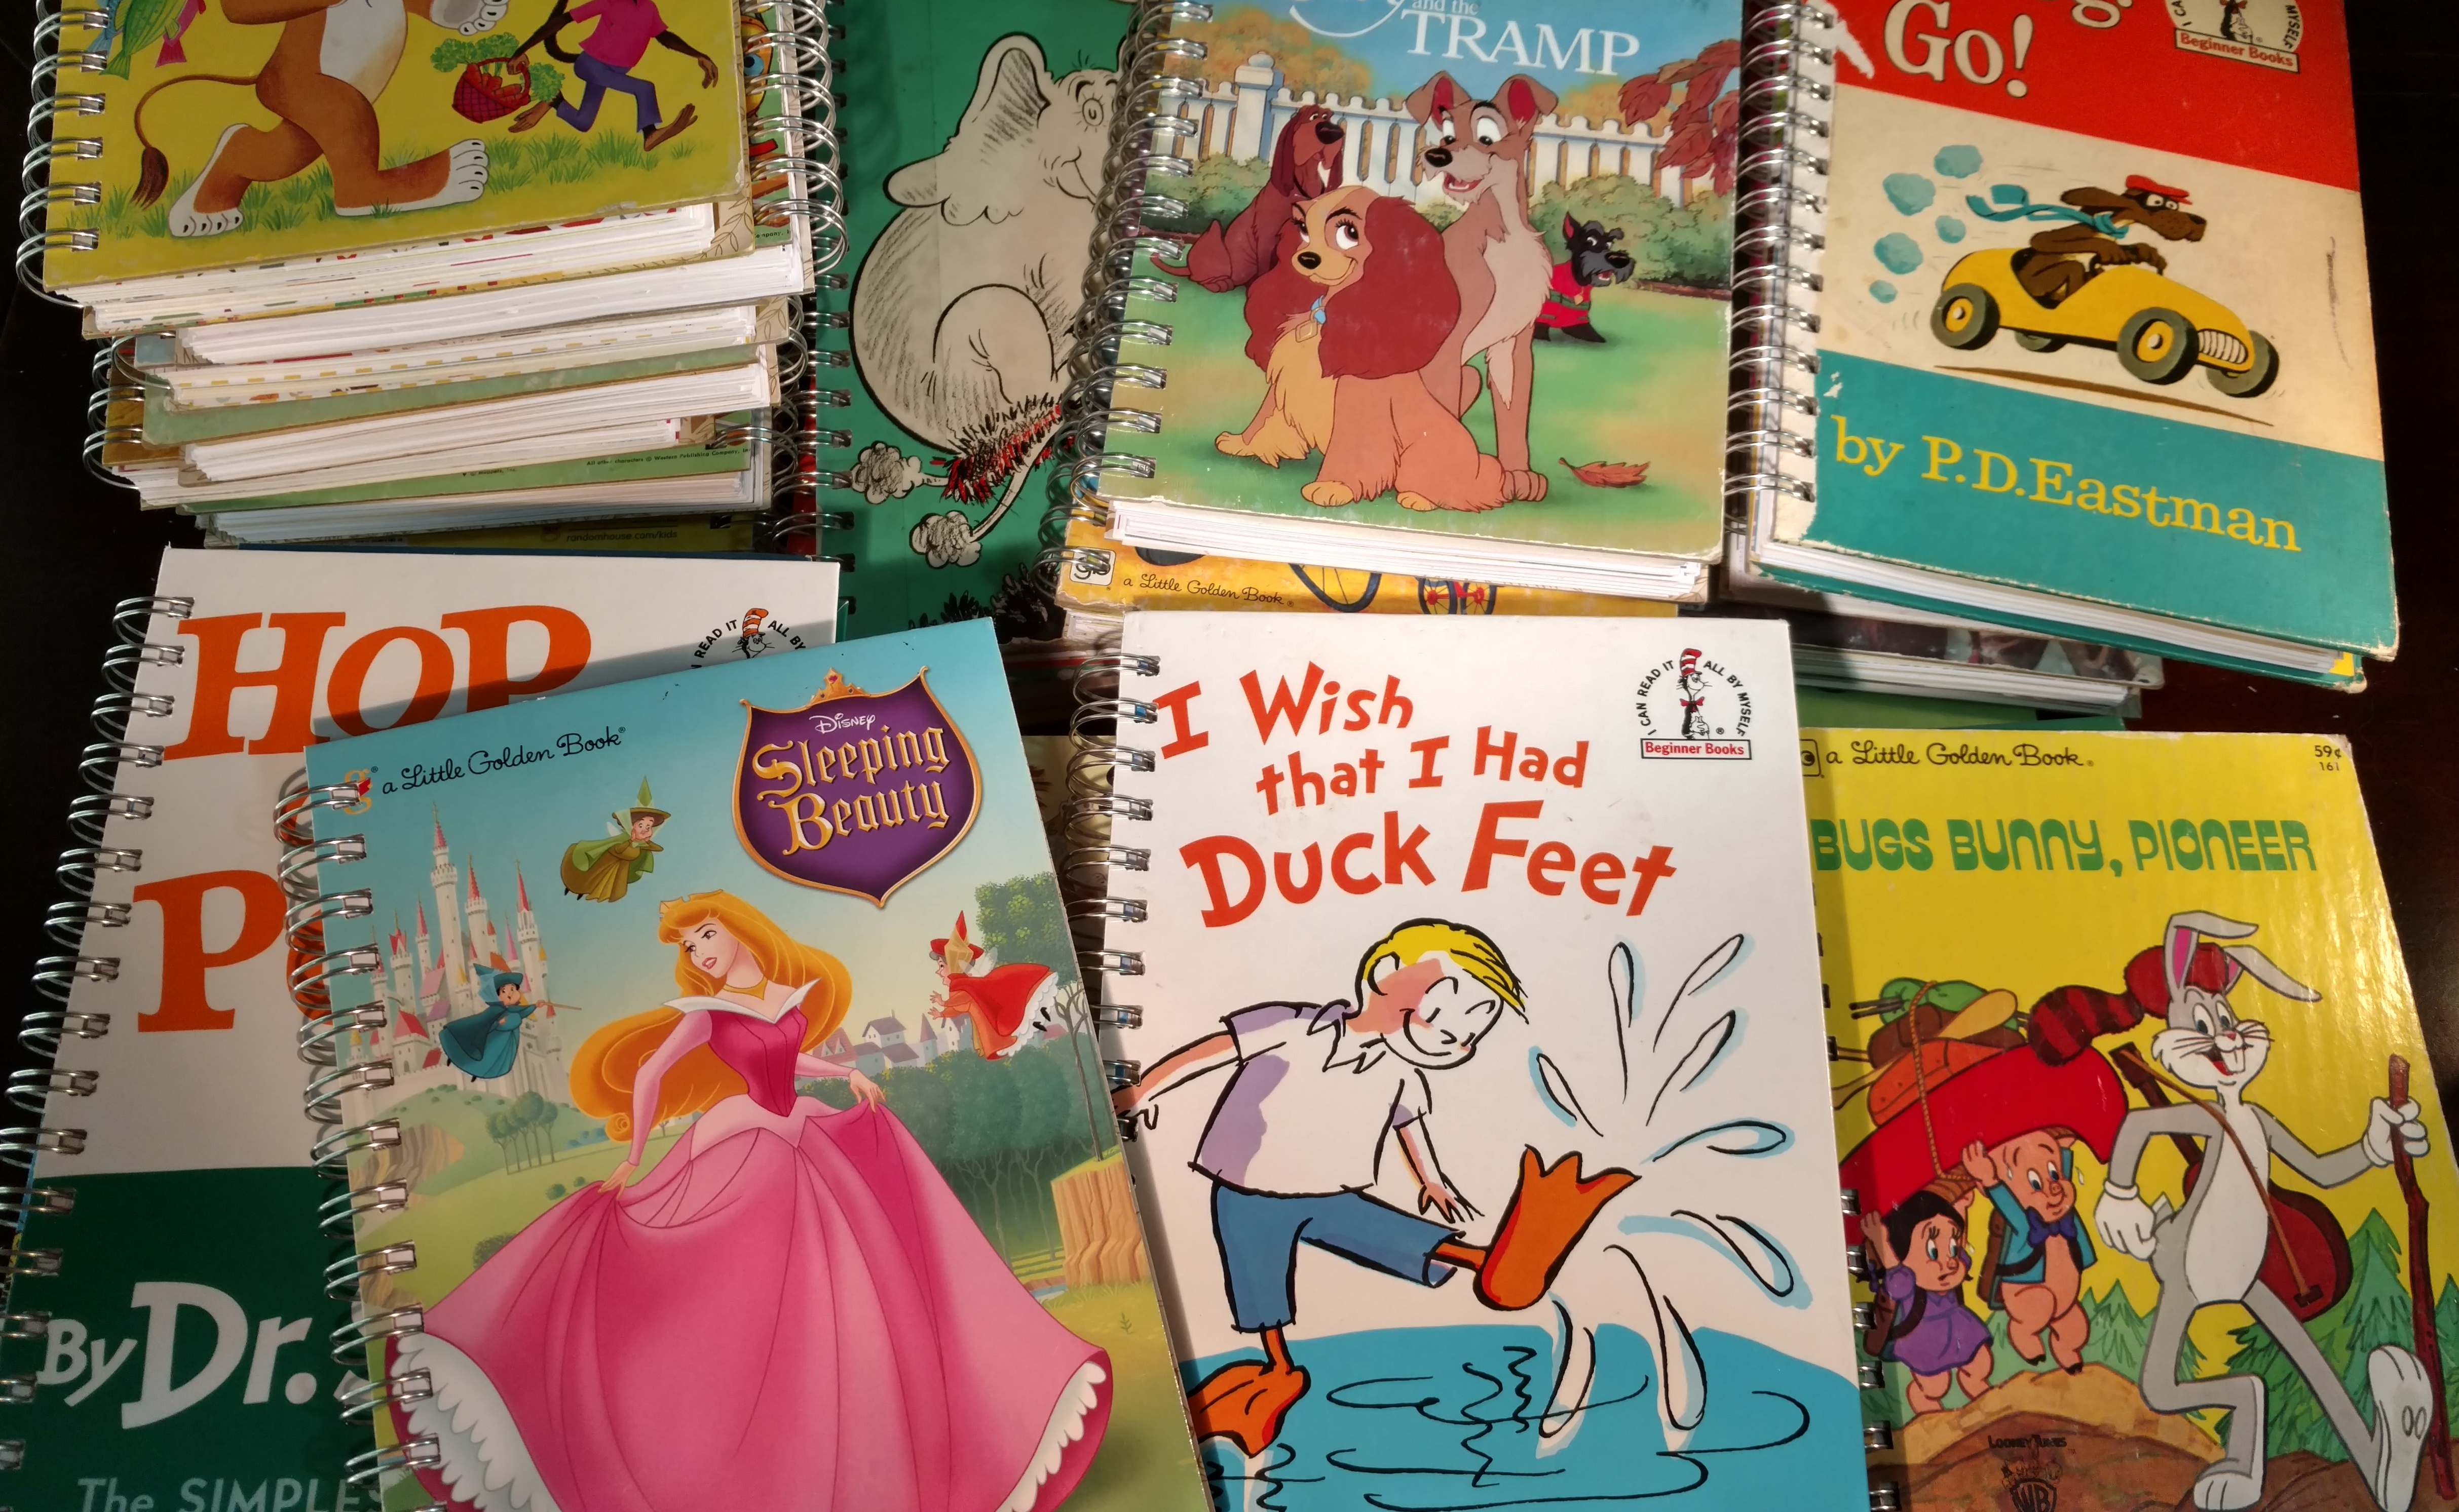
I’m getting ready this morning to glue book jackets to book covers. Most of these are 1980’s science fiction book club books. Many of them are classic titles that are well regarded.

At the time of this writing the covid-19 crises has been around for about 4 months. At the same time there is a quite a bit of protesting and calls to action for Black Lives Matter. Seattle’s Capital Hill neighborhood is now called the CHOP and has declared it’s independence. There is also some evidence that wearing a mask is an appropriate way to reduce risk for yourself and others. It’s debatable whether or not people will actually comply with the requirements. Basically, my 2020 calendar has a lot of stuff cancelled and giant blank spots for the rest of the year.

So what does one have to do with the other? This pile of books is from a small family owned gift shop that is closing. When I went to pick up the books (they had sold my journals there) there was a crowd there in the shopping area. In some of these classic books they discuss the apocalypse and how people behave. Would people go shopping during a pandemic without masks? I had never thought about it. But some of these classic science fiction writers had thought about it and wrote these books.

These are not perfect books, of course. A fair number of these classic science fiction books were not written with today’s standards; either for lack of information dumps or inclusivity. So do I feel bad about tearing down these classic books and reducing the pages to what is currently not problematic? Nope. There were plenty of book club editions printed, people will like the iconic covers, and you can write or draw your own story in the classic science fiction novel.

It’s a couple days later and here are some of the book covers that have the book jacket pasted on them. I still need to transform them into journals.

Posted on

Downloads and Dictionary Prints

I’ve been making digital prints lately. I *should* be adding them on a regular basis.

They can used as collage paper or as a print. I look forward to seeing what people do with them!

Posted on

New Retail Outlet! Otherworlds in Edmonds, WA

Recent Book Journals

Recently, I had the pleasure of meeting the folks at Otherworlds up at the Fairhaven Steampunk Festival.  After talking a bit, you can now purchase my book journals at the Otherworlds store in Edmonds.

Otherworlds

203 5th Ave S, Suite 2
Edmonds, Washington 98020

They are a steampunk and geeky themed store where you can purchase art, games and books.  They also host a wide variety of events. If you live in the Seattle area love geeky things and haven’t visited their shop, you are missing out!

http://www.otherworldsstore.com/

Posted on

The Middle Zone

Kickstarter thoughtfully sent me an an email that I shouldn’t worry that the project has gone quiet.  It’s the middle part and usually projects get most of their funding at the beginning and the end of the project.

I bought some glow in the dark paint yesterday, that I hope will work out.  While the project has gone dark for now, I’m still busy doing R&D, looking for that perfect color of red, and busy making a holiday campaign for facebook.

For a project that I started in January of this year, I’ve been happy to ship out thousands of Lore Bits.  The road is bumpy from time to time and sometimes you have to hold your breath.  Especially when you have to order thousands of glass domes that will arrive months into the future.

I just got back from mailing some more packages out.  The mail box person, just waved, took the package, and told me that she could see me coming.

I think that these shiny game tokens have legs and I will be shipping them out for a long time.  I can see that coming.

Best,

Laura Dodson

Posted on

Almost completed with the Kickstarter rewards shipping

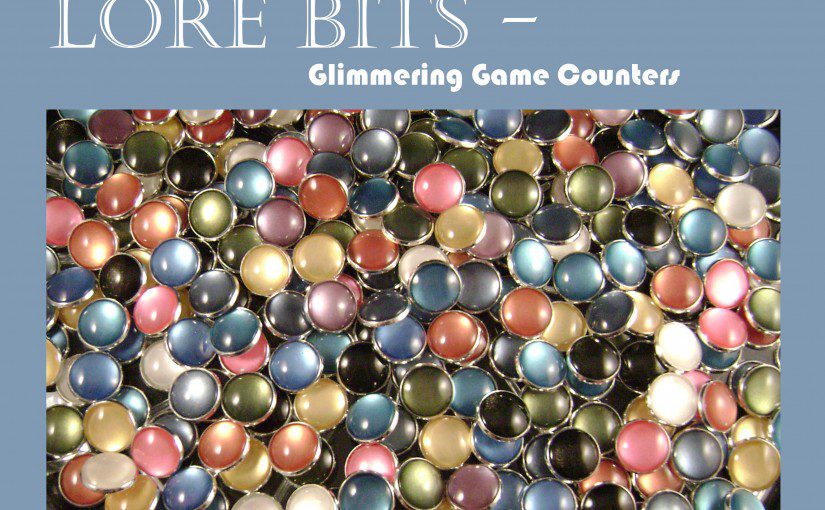
Lore Bits Game Tokens Being Sorted


It’s been a long road to get to this step.  I’ve just started working on the final batch for the Lore Bits Kickstarter.  It’s about a month late and  there have been a lot of late nights.  Unfinished Lore Bits even melted in a hot car!  I hadn’t finished putting on the backing, but I wanted to get more finished during a long planned trip.  Put them in a plastic box drove across town and when I checked on the, the paint was melting off the glass.  I guess I should have paid more attention in high school chemestry.  Turns out, if you heat uncured paint, it can reliquify.

But the end is in sight!


Posted on

Lore Bit Game Tokens Color Variations

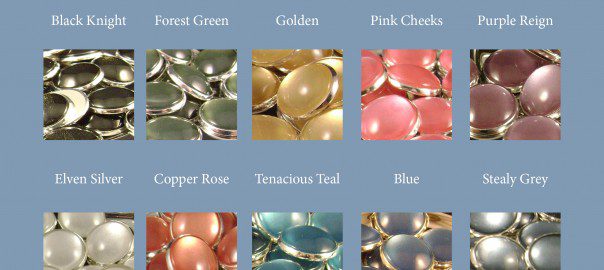
Here are the different Lore Bit’s colors.  We also are going to add the Kickstarter rewards on Monday to this website.

I still have hope that it will fully fund, however at 56% and four days to go, it’s not likely to fully fund.

All of these colors are also available as Magnets.

I’d like to do a special shoutout to someone who asked me to create a specific reward for them, but then never actually followed through with pledging.

*headdesk*

Laura


Posted on

53% Funded and Five more Days to Go!

There are five more days to go on the Lore Bits kickstarter.  I’m not sure it’s going to fully fund.  There is always hope, but mathmatically, the numbers don’t quite add up to being at 100%.

Which means that zilch happens when the kickstarter ends.

I will be adding all the rewards to this website after it finishes, rain or shine.  They will be up for about a week and then I’m raising the Lore Bits game counters.  The main feedback that I got on them was the shipping was too high.  I think that we have all gotten used to free shipping from the mighty zon.  The only real adjustment that I can make is to increase the base price and decrease the shipping.

I wish there was a magically shiny place where the post office or fed ex don’t charge for shipping.  Let me know when you find it. 🙂

Onward and upward!

Laura